해당 글은 groomedu의 스프링부트 나만의 블로그 만들기 강의를 보고 개인적으로 정리한 글입니다.
스프링 시큐리티를 사용하려면 pom.xml에 시큐리티 라이브러리를 추가해준다.
<dependency>
  <groupId>org.springframework.security</groupId>
  <artifactId>spring-security-taglibs</artifactId>
</dependency>
<dependency>
	<groupId>org.springframework.boot</groupId>
	<artifactId>spring-boot-starter-security</artifactId>
</dependency>
스프링 시큐리티에서 자동으로 로그인과 로그아웃 기능을 제공하는데
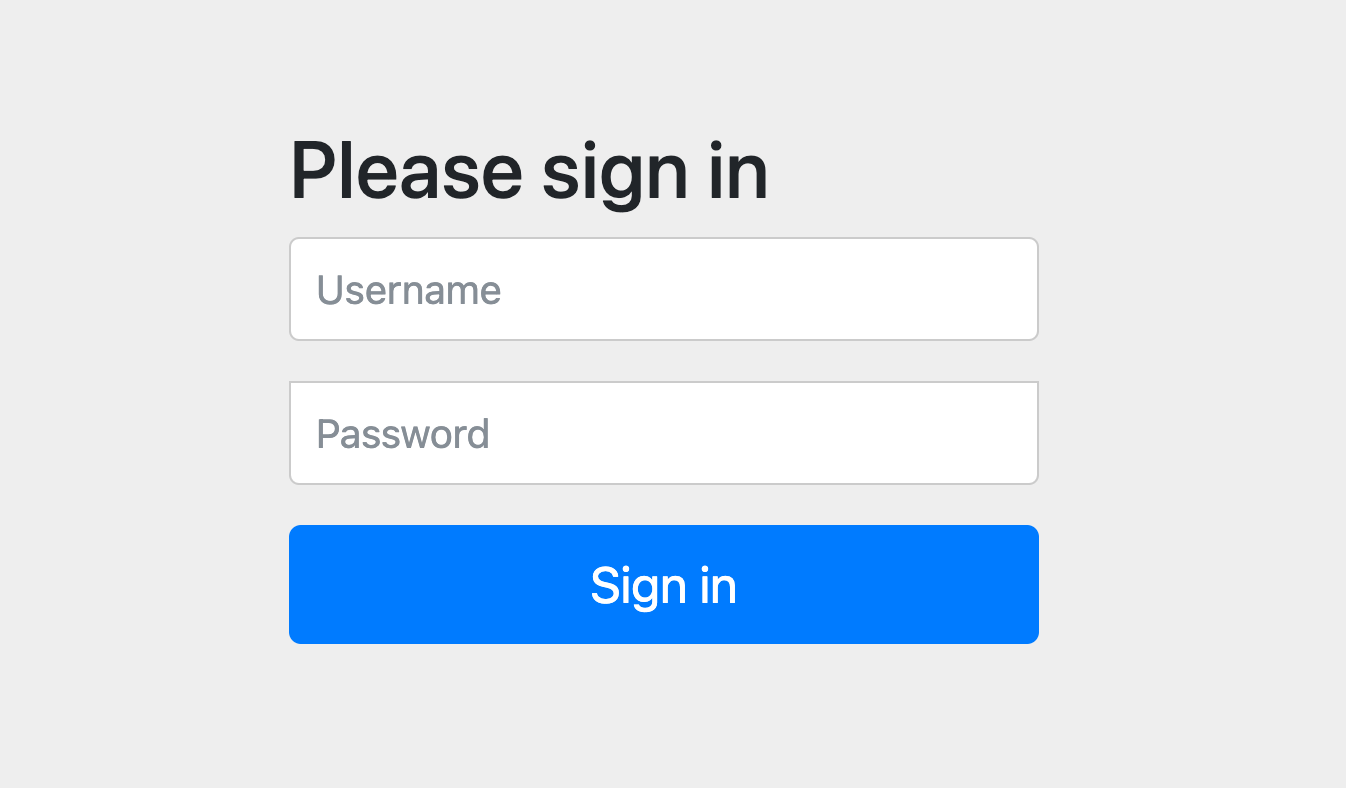

화면을 띄우면 첫 화면부터 로그인 화면이 나온다.
ID는 user로 입력하고 PW는 콘솔에 찍힌 암호화된 값을 입력하면 로그인이 된다.
header.jsp에서 jstl에서 security tag library를 사용하여
sec의 인증 여부를 확인하고 principal을 property에 담는다.
<%@ taglib prefix="sec" uri="http://www.springframework.org/security/tags"%>
<sec:authorize access="isAuthenticated()">
	<sec:authentication property="principal" var="principal"/>
</sec:authorize>
<c:choose>
<c:when test="${empty principal}">
</c:when>
<c:otherwise>
</c:otherwise>
</c:choose>
principal에 비어있는지 아닌지에 따라 위와 같이 조건을 주어 메뉴를 불러온다.
'Spring > SpringBoot' 카테고리의 다른 글
| [goormedu 강의] 스프링부트 블로그 만들기 06 - 03 비밀번호 해쉬 후 회원가입하기 (0) | 2024.10.05 |
|---|---|
| [goormedu 강의] 스프링부트 블로그 만들기 06 - 02 스프링 시큐리티 로그인 페이지 커스터마이징 (0) | 2024.09.25 |
| [goormedu 강의] 스프링부트 블로그 만들기 05 - 12 전통적인 방식의 로그인 방법 (1) | 2024.08.30 |
| [goormedu 강의] 스프링부트 블로그 만들기 05 - 11 스프링 JPA의 OSIV 전략 (0) | 2024.08.30 |
| [goormedu 강의] 스프링부트 블로그 만들기 05 - 10 REAPEATABLE READ (0) | 2024.08.28 |


